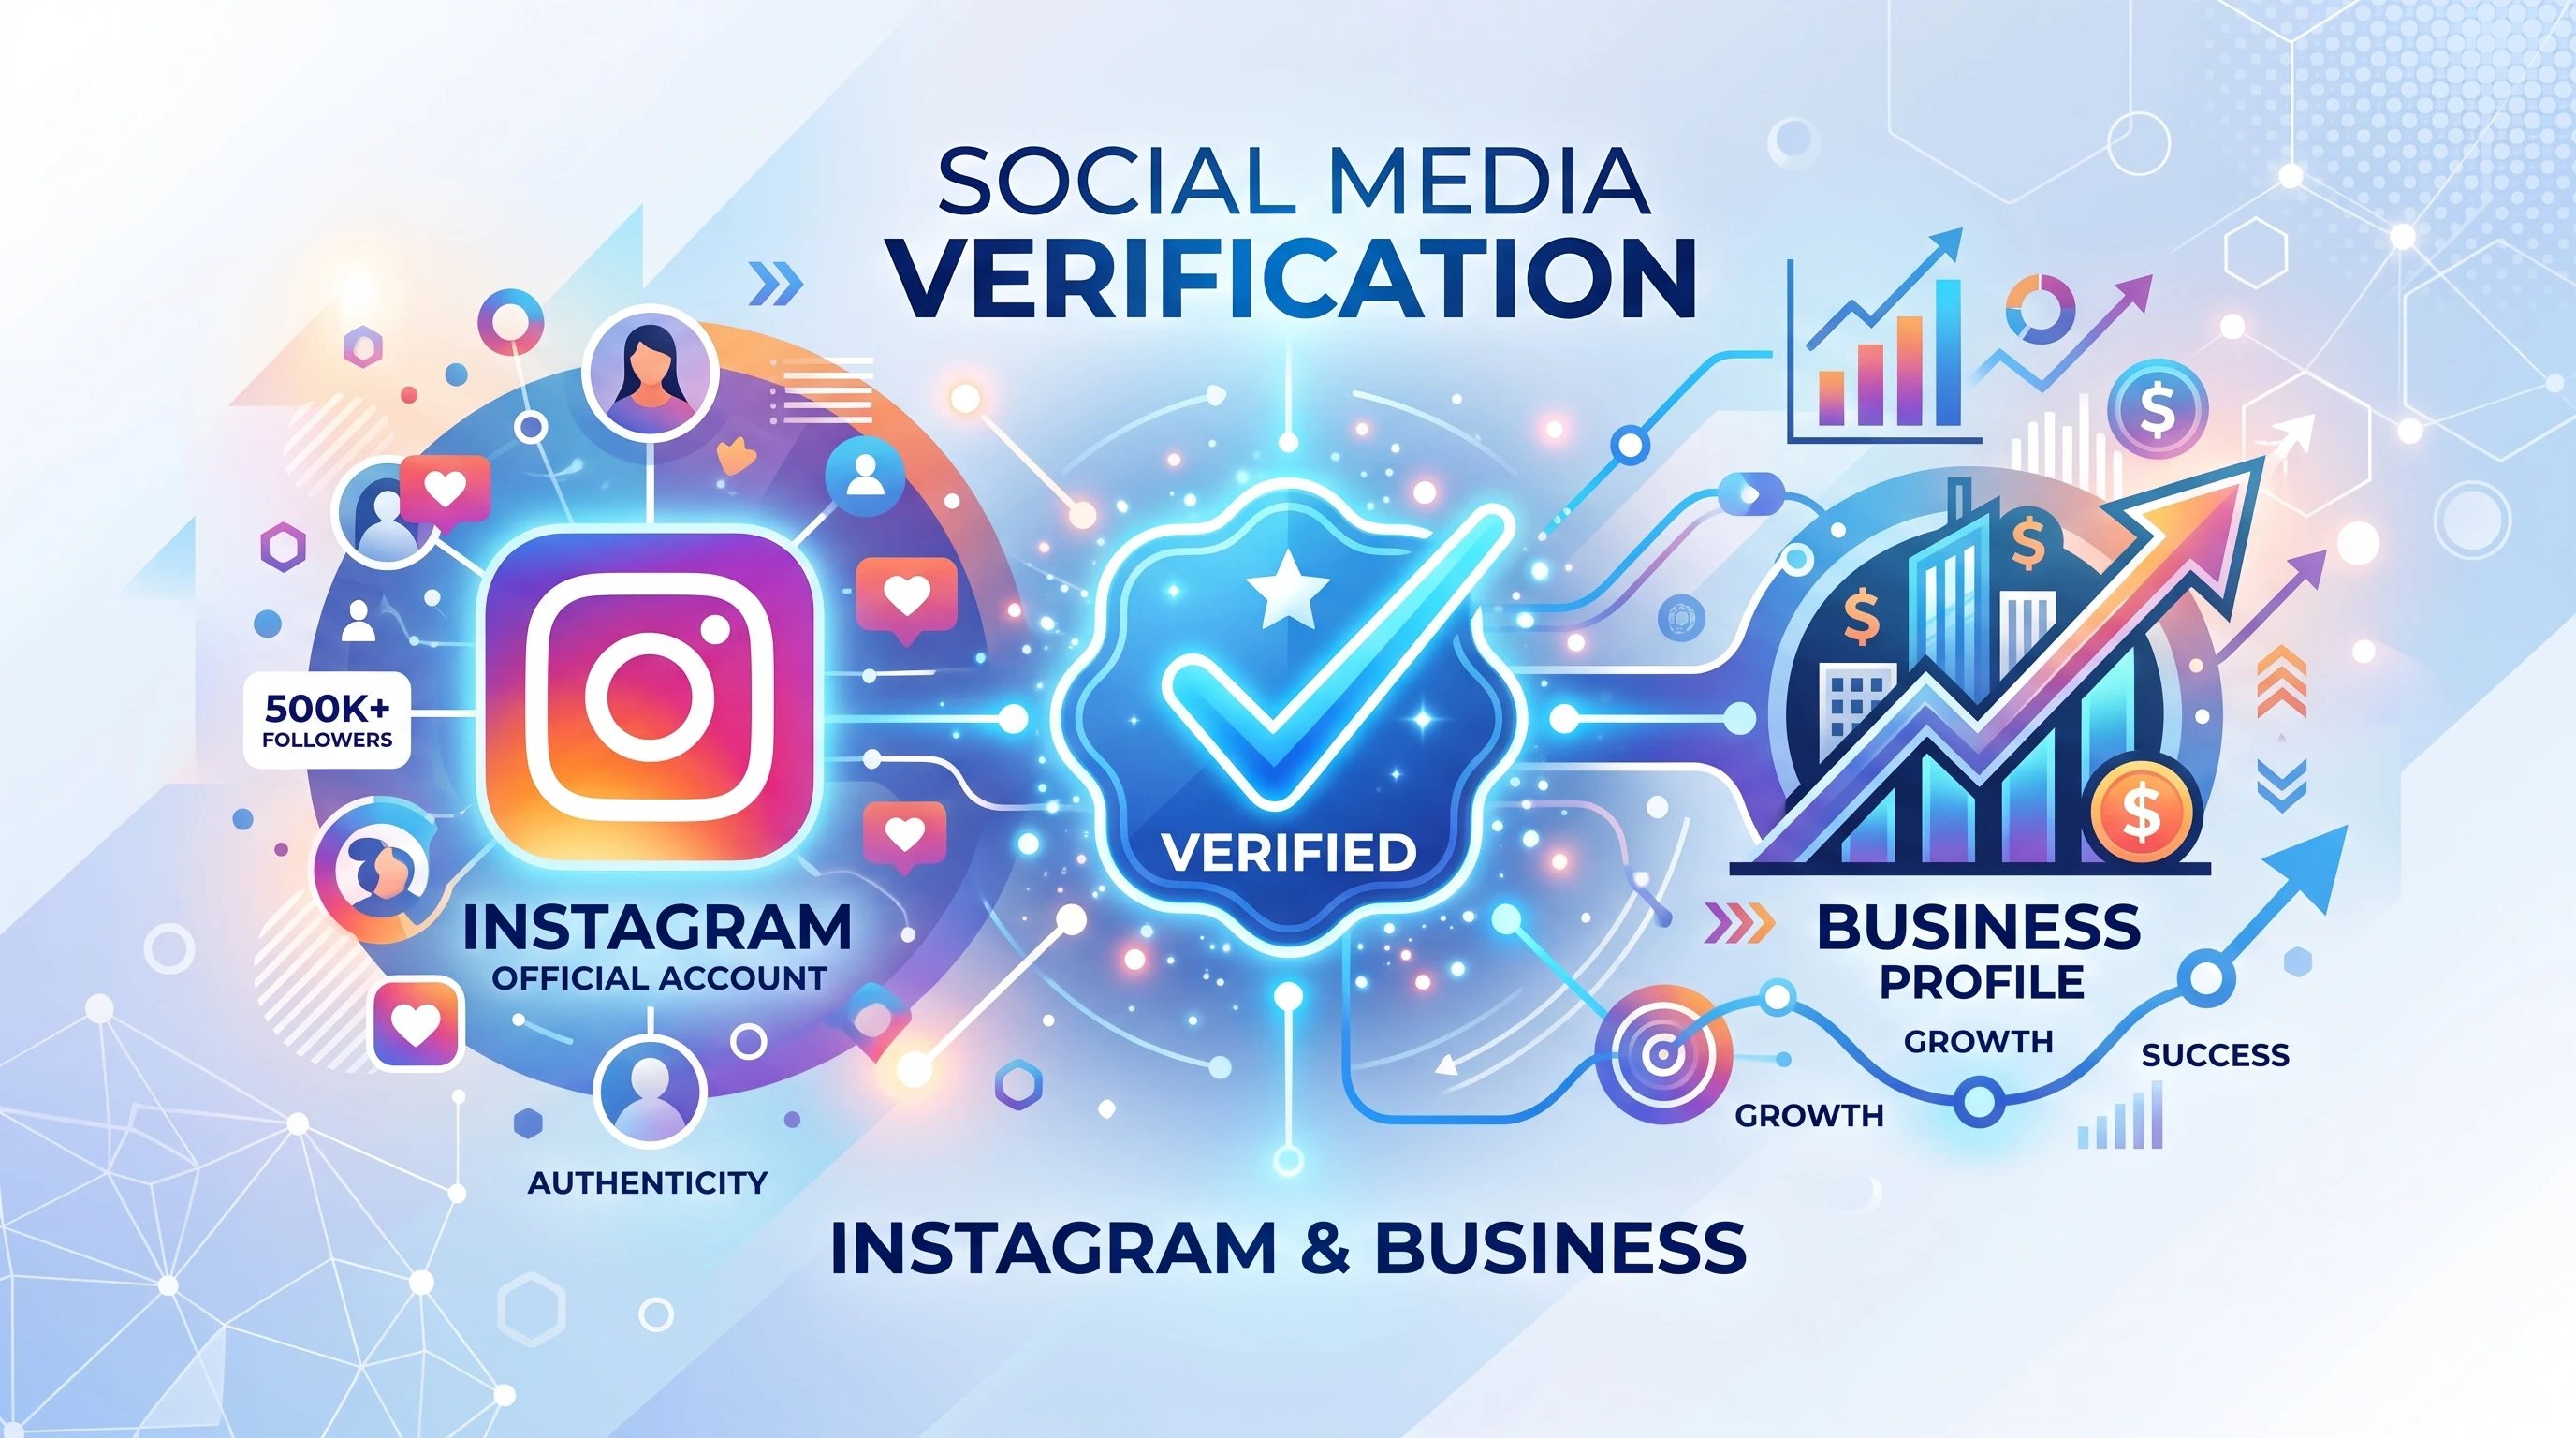
 Getting the Meta Verified checkmark for an Instagram business account can give your credibility a boost, help you stand out, and signal trust to potential customers. I’ve gone through this process myself and know firsthand how important it is to understand your options, gather the right documents, and follow each step closely to avoid any hold-ups.
There are two main ways to get a blue verified badge for your Instagram business account. This guide will walk you through both paid Meta Verified subscriptions and the traditional (free) notable business verification, with step-by-step instructions and handy pointers along the way.
Understanding Instagram Verification for Business Accounts
Meta Verified, also called the blue checkmark, is now available to most Instagram business accounts for a monthly fee. This makes getting verified easier than it used to be. The older method, sometimes called Notable Figure Verification, is still available for businesses and brands that already have a strong public presence.
Meta’s verification system helps prevent impersonation, provides better account support, and gives your business more authority. Choosing which method to use depends on your unique business situation, budget, and how well-known your brand already is among the public.
Meta Verified Subscription: The Fastest Route
Signing up for a Meta Verified subscription is the most direct way for business accounts to get the checkmark. This paid method works for small businesses, creators, and larger brands alike. For around $14.99 per month (when purchased through the app), you get a blue badge and extra account protection.
What Your Business Needs First:
- Your business representative signing up must be at least 18 years old.
- Two-factor authentication (2FA) must be turned on for the account.
- The business name and profile info must match your government document or business registration papers.
- Your profile picture should be a clear photo of a person authorized to represent the business.
- Your business account needs to show recent legitimate activity. Inactive or incomplete profiles can’t be verified.
How I Completed My Meta Verified Setup:
- Open Instagram and Go to Your Profile.
Tap the three horizontal lines at the top right to open your menu. - Access Account Center.
Select Account Center from the menu and scroll to where you see “Meta Verified.” If you spot an “Available” or “Subscribe” label next to your business, you can keep going. - Choose Your Business Profile & Subscribe.
Select the business account you want to verify and follow the subscription prompts. Enter your payment info through your device’s app store. - Upload Legal Documents.
Instagram will prompt you to upload government-issued photo ID (like a passport or driver’s license) or official business registration. For some businesses, you may also need a video selfie to confirm your identity.
I received full verification for my business account within 48 hours. After getting Meta Verified, be aware that changing your username, business name, or birth date will require another round of ID checks. It’s easier to double-check your info before you submit anything.
Notable Business Verification: The Traditional Free Path
If your business or public brand is regularly featured in news media, has a high profile, or already has a significant following, you might qualify for the traditional free verification. This path is more selective and is designed to prevent impersonation of popular brands and figures.
Who Should Apply This Way?
- Brands, companies, or organizations that are regularly mentioned by independent news sources
- Local businesses with major press coverage or a big regional presence
- Business accounts holding trademark or other legal protections for their brand
How I Submitted My Free Verification Request:
- Go to Settings and Privacy.
From your profile menu, tap the three lines, then scroll to “Settings and Privacy.” - Request Verification.
In the search bar or the list, find “Request Verification” and tap on it. - Complete the Application Form.
Enter the business representative’s legal name, upload valid ID, and your official business documents. Pick a business category that matches what you do best (like Retail, Media, or Tech). - Add Supporting Information.
This part is crucial: add links to independent, non-paid news stories or press features about your business. Stay away from sponsored content or press releases, because Meta reviewers won’t count those. Adding coverage from established news websites can really help your application.
Expect to wait up to 30 days for an answer from Instagram. If your application doesn’t get approved, you’ll need to wait another 30 days before trying again.
Tips to Step Up Your Verification Success
For Paid Meta Verified Applications
- Check your business legal documents early. Make sure every name, representative, and tax record matches exactly across all paperwork.
- Use a current, clear profile photo that shows your business representative. Avoid logos unless they absolutely match your business docs.
- Ensure your business contact info (website, phone, and email) is filled in and matches everywhere it appears online and in documents.
- Post consistently on your business Instagram account. A feed with authentic, original content supports your legitimacy.
For Free Notable Business Requests
- Gather media mentions and press clippings before you start. News features from recognized sources help strengthen your case.
- Update your website, confirm all your contact info, and check everything matches across the web.
- If your business is trademarked, upload those certificates as support—it shows your claim is real.
Common Roadblocks and How to Beat Them
What if my documents are rejected or I get denied?
If your ID or business papers are rejected, double-check for blurry images, expired documents, or mismatched details. Upload fresh copies and make sure every detail matches perfectly. If your free verification is denied, review any feedback from Instagram, update what was missing, and try again after the 30-day waiting period.
Can I use a business logo in my profile photo?
If you’re going for paid Meta Verified, your profile picture has to show a real person representing the business. For the notable business path, highly recognizable logos might be accepted, especially if they appear in independent news coverage. Still, using a team member’s face is usually safest.
How do I keep my verification after getting it?
Meta requires business accounts to keep up regular, authentic activity and to update them if any key info changes. Suspicious activity or false information can get your checkmark removed. I keep my credentials updated and try not to change important info unless it’s absolutely necessary.
Action Steps to Get Your Business Meta Verified
- Figure out which verification path fits your business best, subscription or notable figure.
- Collect all your ID, legal, and business documents, and find your best supporting links before starting.
- Follow each step on Instagram for either Meta Verified or Request Verification and fill in every detail accurately.
- Keep your business info and profiles consistent everywhere online.
- If your application is denied, check what was missing and reload for another try after 30 days.
Getting Meta Verified for your Instagram business account is straightforward if you have everything in order. It adds real trust for your customers and makes your account harder to fake. If growing your brand and connecting with more clients is in your plans, getting verified is a smart step. Any effort you put into strengthening your profile and protecting your brand is well worth it, especially as competition keeps growing on Instagram. With these practical pointers and a little preparation, you’ll be ready to track down that blue checkmark and make your business stand out from the pack.