
How To Write And Publish Your First Ebook

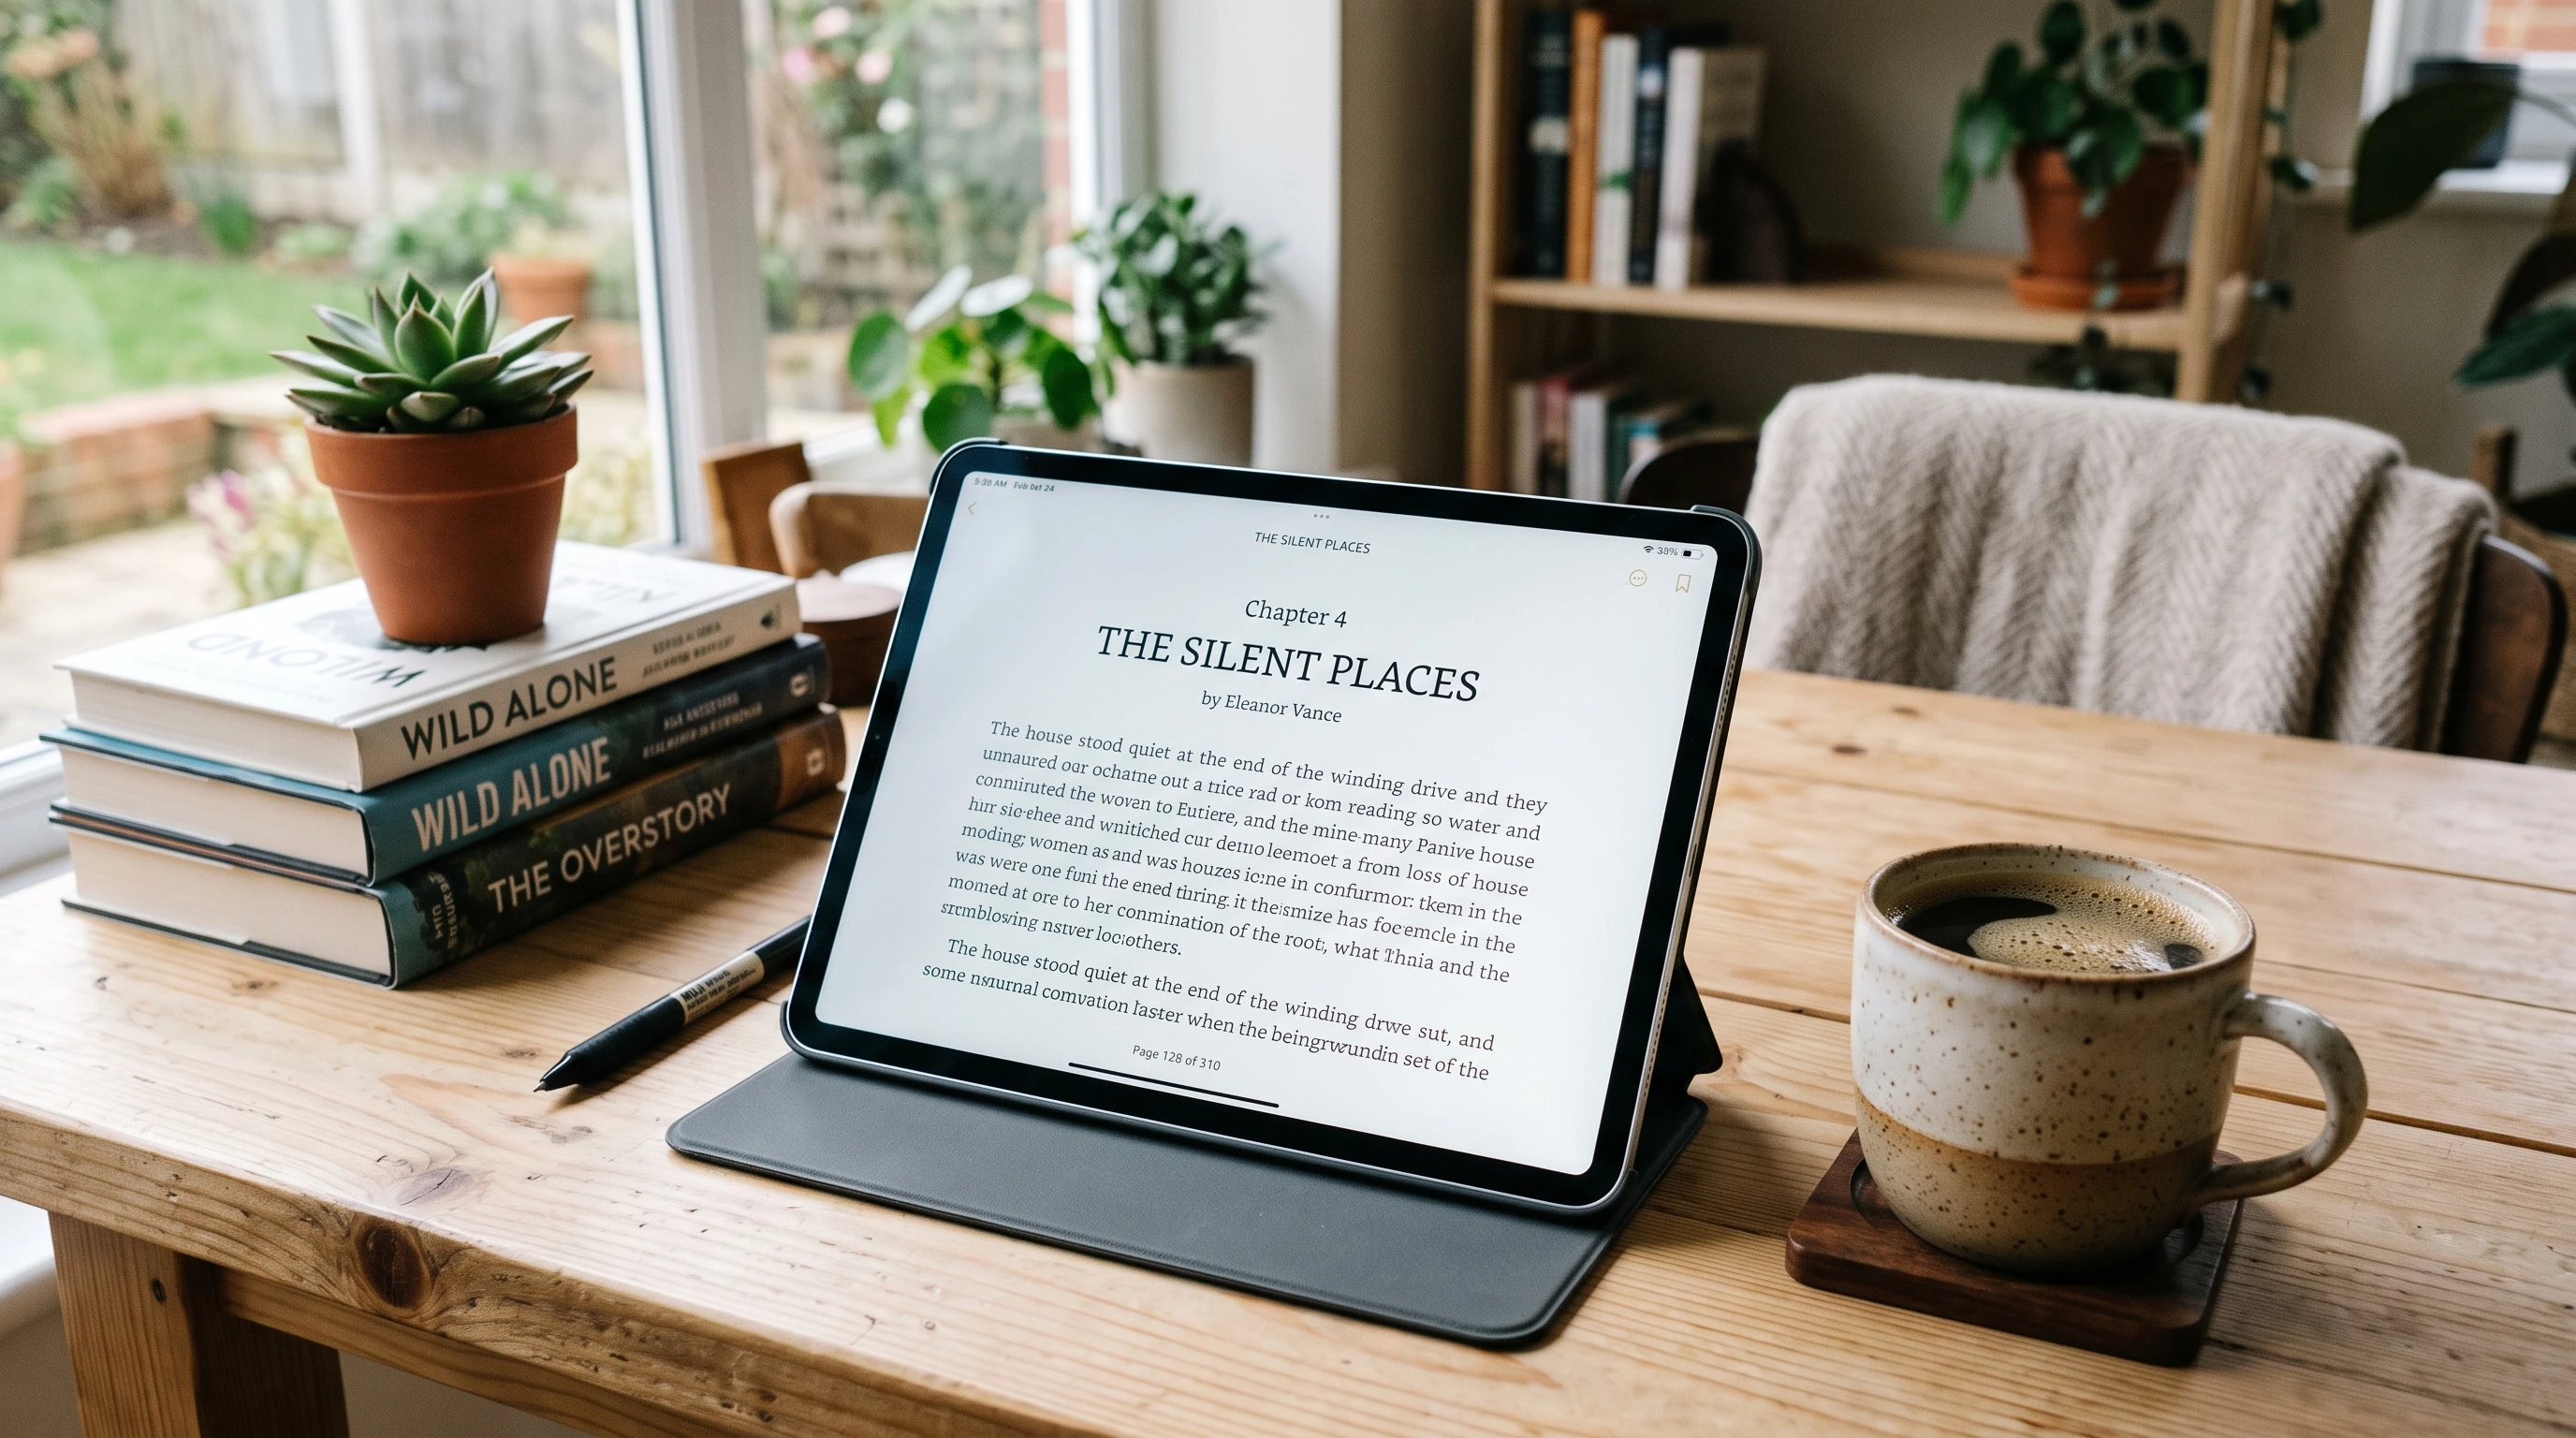
a digital tablet with an ebook displayed and a cup of coffee nearby on a tidy workspaceWriting and publishing my first ebook started as a personal challenge, inspired by conversations with patients and attorney clients who regularly asked for simple, accessible resources on complex topics. Taking the leap from idea to finished product took time, self-discipline, and a lot of learning along the way. Now, I want to share the steps that helped me go from blank page to a published ebook, hoping you’ll have an easier time with your own project.

Maybe you’re not sure where to begin, feel stuck midway, or don’t know how publishing actually works. The process can feel overwhelming, but breaking it down into smaller steps makes each stage more manageable. I found that staying organized, keeping my motivation close, and being open to learning made a real difference.

This guide covers what I wish I knew before starting—from brainstorming and outlining through the publishing process. You’ll find practical tips, tools I used, and examples to help you create and publish your first ebook, whether you’re writing for business, for a cause, or just to tell your story.


Step 1: Identify Your Ebook Topic and Audience

Before writing a single line, I had to decide what I wanted to share, and just as importantly, who would want to read it. Picking the right topic is really important because it shapes every other step in the process.

Questions I Asked Myself:

  • What do I know well enough to explain simply?
  • Who am I writing this ebook for?
  • What problems am I trying to help solve?
  • How will my own story, experience, or research support the topic?

Ways to Pick a Great Topic:

  • Write down the five questions people ask me most often in my field.
  • Think about personal or professional experiences that taught me something valuable.
  • Research popular search queries related to my skills or passions.
  • Check which ebook topics are selling well on Amazon or other platforms.

This process helped me combine expertise from work and personal life into a focused, relevant topic that felt meaningful, as well as marketable. Don’t worry about being the absolute expert; concentrate on what you can communicate with clarity and experience. Sometimes, your unique angle or background is what makes your ebook stand out.


Step 2: Plan the Structure and Outline

Jumping straight into writing can feel tempting, but creating an outline first made everything go much more smoothly. This also helped me notice early if a section felt weak or off-topic.

How I Created My Ebook Outline:

  • Listed major sections or chapters needed to answer the top questions for my audience.
  • Broke larger subjects down into subtopics, aiming for short, focused sections.
  • Decided on the flow, figuring out where to tell personal stories, include research data, or present actionable steps.
  • Used sticky notes on a wall to move parts around until they were in the right order.

Seeing all the sections together helped me spot gaps or overlapping content. I added bullet points under each section to remind me what key points I wanted to cover. You could also use mind mapping apps or good old notebooks to help organize your thoughts. The idea is to create a roadmap you can refer back to as you write, so even on tough writing days, you won’t lose track of the big picture.

Sample Outline Example:

  • Introduction: My background and why I wrote this ebook.
  • Chapter 1: Key concepts and common myths.
  • Chapter 2: Step-by-step instructions or case studies.
  • Chapter 3: Answers to common questions.
  • Conclusion: Next steps and encouragement for readers.
  • Resources: Useful links, books, or professional contacts.

This basic skeleton made writing each chapter much faster because I always knew where I was headed next. Don’t be afraid to change your outline as your ideas develop—that kind of flexibility is part of the process.


Step 3: Set Writing Goals and Find Your Workflow

Writing a whole ebook can easily get pushed aside by work and family commitments. I had the best results when I set clear, small goals and worked them into my daily routine. Consistency, even in short bursts, builds up to a completed draft over time.

Tips That Helped Me Build Writing Momentum:

  • Scheduled 30-minute blocks of writing each day before work started, treating it like an appointment.
  • Used a distractionfree app (like FocusWriter) to cut down on digital noise.
  • Aimed for a word count goal per session instead of worrying about perfect paragraphs.
  • Kept a small notebook handy to capture ideas during the day.
  • Shared progress updates with a friend for accountability.

Dealing With Writer’s Block:

  • Switched to a different section if I felt stuck instead of forcing one part.
  • Read my outline out loud to spark new ideas.
  • Took a short walk to step away from the keyboard and get a fresh perspective.

Sometimes, writing even just a paragraph or two built enough momentum to keep going. Tracking my progress visually, like crossing off sections or using a calendar, also made it much easier to celebrate small wins. Try to experiment with writing at different times of day to find your own sweet spot. And remember: the first draft doesn’t have to be perfect—it just needs to exist.


Step 4: Revise, Edit, and Get Feedback

Finishing the first draft felt relieving, but I quickly realized revision is where quality and clarity grow. Editing made my ebook clearer, more concise, and far easier to read. Don’t rush this part; polishing your work shows readers you respect their time.

How I Approached Revisions:

  • Stepped away from my draft for a day or two before reviewing it again.
  • Read through the entire ebook out loud to catch awkward sentences, clunky phrases, or unclear points.
  • Checked for simple, everyday language, removing any jargon or overly technical terms.
  • Replaced vague phrases with strong, clear instructions or examples.
  • Cut repetitive or off-topic sections, even when I was attached to them.

Getting Outside Feedback:

  • Sent a draft to two colleagues and a friend who could provide honest feedback.
  • Created a short list of questions to guide their review, like clarity, flow, and any confusing spots.
  • Thanked each reader and made simple changes before moving on to final editing.

I also used free or inexpensive editing tools, like Grammarly, to catch grammar or spelling mistakes. This step made me a better writer and gave me more confidence in my ebook’s content. Consider reading backwards (sentence by sentence) or changing the font before a last pass; these tricks help you spot typos that your brain usually skips over.


Step 5: Design Your Ebook for Readability

The way an ebook looks really shapes how people respond. I focused on simple, clean design choices that made it easy to read, especially on mobile devices. Design isn’t about fancy graphics—it’s about accessibility and flow. Even adding chapter titles or table of contents makes a huge difference in usability.

Design Tips That Worked for Me:

  • Used clear section headings and short paragraphs for easy scanning.
  • Chose a professional, easy to read font, such as Arial or Georgia.
  • Added bullet points and numbered lists where helpful for structure.
  • Included relevant images, diagrams, or charts to break up the text and explain concepts visually.
  • Kept white space generous around headings and images for a clean look.

Designing a Simple Cover:

  • Created a basic cover using Canva, which offered free templates specifically for ebooks.
  • Kept the title large and bold for visibility in small ebook thumbnails.
  • Used one strong, non distracting image that represented my topic.

I always checked how my ebook looked on both computer screens and a tablet or phone to make sure the design worked everywhere. Ask a friend to open your sample PDF on their device as a test—it can reveal issues you might not expect.


Step 6: Choose the Right Ebook Format

Different publishing platforms prefer different file types, so I selected the best fit for my goals. This helped me avoid frustrating technical issues during publishing. The right format lets your readers access your content smoothly, whether they’re on a computer, tablet, or ereader.

Popular Ebook Formats:

  • PDF: Great for ebooks sold directly or offered as free downloads on my website or email lists. Maintains formatting across devices for simpler designs.
  • EPUB: Widely accepted by Apple Books, Google Play, and many other ebook retailers. Allows for adjustable fonts and is userfriendly on mobile devices.
  • MOBI: Amazon Kindle’s native format. If publishing on Kindle Direct Publishing (KDP), formatting in MOBI (or now, EPUB) works best.

Tools I Used for Formatting:

  • Calibre (free) to convert between formats and check how the ebook would look on different devices.
  • Microsoft Word and Google Docs to write the main text, then exported as PDF for personal sales.
  • Kindle Create (free from Amazon) to prepare the ebook for Kindle publishing.

Always double check the final version on as many devices and apps as possible; this prevents awkward surprises for your audience. Don’t hesitate to search for platform specific formatting tutorials if one step stalls you.


Step 7: Set Up Publishing Accounts and Prepare for Launch

Choosing where and how to publish made a big difference in how many readers I could reach. I spent some time exploring different options and setting up the accounts I’d need. Planning your launch in advance cuts down on stress and mistakes at deadline time.

Popular Publishing Platforms:

  • Amazon Kindle Direct Publishing (KDP): Largest audience, straightforward setup, and options for both free or paid ebooks.
  • Apple Books, Barnes & Noble Press, Kobo: Good alternatives for reaching nonAmazon readers and expanding reach globally.
  • Direct Sales on My Website: Allowed for more control and direct connection with my audience through Payhip, Gumroad, or SendOwl.

How I Prepared for Launch:

  • Set up free accounts on relevant publishing platforms using my professional email address.
  • Read each platform’s requirements for file types, cover images, and recommended ebook pricing.
  • Wrote a simple, engaging ebook description to use for marketing and sales pages.
  • Uploaded the correct file formats and checked the preview feature to catch any issues.

I also made a checklist to keep track of each platform’s unique steps, which helped prevent last minute problems. Having all your files—cover, manuscript, and sales description—ready in one folder will make things smoother at upload time.


Step 8: Pricing and Promotion

Deciding on the price and figuring out how to get my ebook in front of readers felt tricky at first. I wanted to balance accessibility with valuing my work. There’s no one size fits all answer, but testing different approaches is part of the process.

Factors I Considered for Pricing:

  • Checked average prices for similar ebooks in my niche on Amazon and other platforms.
  • Decided if the ebook would be free, part of a lead magnet, or sold outright.
  • Used lower pricing for the launch to encourage more downloads and reviews.
  • Factored in the length and depth of my ebook compared to others on the market.

Promotion Tactics That Worked for Me:

  • Announced the launch to my email list and social media followers well in advance.
  • Offered a limited time free or discounted deal for the first readers to generate momentum.
  • Shared stories and behind the scenes looks at the writing process to build anticipation and engage readers early.
  • Asked a handful of trusted contacts to leave honest reviews right after launch to boost trust.
  • Linked to my ebook on my website, LinkedIn profile, and in relevant online communities.

Promoting my ebook felt uncomfortable at first, but I soon realized readers appreciate knowing about valuable new resources. Sticking to authentic, personal messages made all the difference. Try to show your enthusiasm and let your excitement shine through!


Step 9: Collecting Feedback and Updating Your Ebook

Publishing is just the beginning. Once people started reading my ebook, I learned a lot from their feedback. Some pointed out typos, others offered new questions, and many shared what sections resonated the most. Your ebook can grow better over time; that’s one of the joys of digital publishing.

  • Included a request for feedback at the end of my ebook, inviting readers to email me suggestions or questions.
  • Monitored reviews and star ratings on Amazon or other platforms for themes and constructive criticism.
  • Kept a running list of suggestions for the next edition, like adding more examples or clarifying certain topics.
  • Sent out updated versions via email to early buyers when I made improvements, which built loyalty and trust.

Updating an ebook is much easier than with traditional print publishing. Refreshing content kept my book current and built more trust with readers over time. Don’t be afraid of critiques—it’s better to keep learning and make your next edition shine.


Common Questions & Troubleshooting

What if I have no technical skills?

  • Many tools (like Canva, Kindle Create, and Calibre) are userfriendly and offer guides or templates for beginners.
  • Plenty of online tutorials cover everything from formatting to uploading files.
  • Starting simple and building skills step by step felt doable and cut down on frustration.

I’m not sure if my topic will sell; how can I check?

  • Look up ebook bestsellers and reader reviews on Amazon in your topic area.
  • Ask your audience through a short survey what topics interest them most.
  • Test ideas with a short guide or blog post before writing a full ebook.

What’s the best way to deal with negative feedback?

  • Focus on constructive criticism that helps improve the next edition.
  • Ignore unhelpful or mean spirited comments; every author gets them.
  • Thank those who offer detailed suggestions or highlight real issues.

Can I really self-publish without hiring professionals?

  • Yes, with the range of free tools now available, I managed it alone for my first ebook.
  • For future projects, I may hire a designer or editor, but starting simple is totally possible.

Final Thoughts & Next Steps

Writing and publishing an ebook opened up new connections and opportunities for me, plus brought a real sense of accomplishment. The process became much more approachable when broken down into clear, actionable steps. Most of all, sharing my own story and insight helped others and proved to myself that getting started is the hardest part. Remember, even the longest ebooks start as basic drafts and rough outlines. Stick with it and your finished book will be worth the effort.

Your Action Plan:

  1. Pick a topic you know or care about. Write the audience down on the first page of your outline.
  2. Set a concrete writing schedule, even if it’s 20 minutes a day.
  3. Draft, revise, and share early versions with trusted readers for honest feedback.
  4. Use simple design tools to format and add a basic cover.
  5. Choose one publishing platform and upload your finished ebook when you feel ready.
  6. Announce your launch to personal and professional connections. Ask for reviews and feedback.

I’d love to hear what topic you’re thinking of writing about or any questions you have as you plan your first ebook. Drop a note and I’ll do my best to help!

Now that you have the baseline information to write an EBook, you could put it to use on our newest invitation to Write Retreat: https://writeretreat.com/free-to-join-write-retreat

Comparison Godaddy Versus Wealthy Affiliate Program

When you’re deciding between GoDaddy and Wealthy Affiliate, it’s like trying to pick between a trusty old pickup and a swanky RV. Each has its strengths, but they serve entirely different missions. GoDaddy is perfect if you’re in need of a reliable ride for hauling the essentials—the domain registry and basic hosting stuff.

Wealthy Affiliate, on the other hand, is your all-in-one road trip machine. It comes packed with everything you need for the journey, from seats that fold out into beds (think SEO tools and affiliate marketing lessons) to a built-in navigation system (like a community forum and keyword tools). This setup is absolutely ideal if you’re not just cruising but are also trying to map out a whole adventure in the world of blogging and marketing.

Choosing wrong here could mean wasted time and wasted cash. If you’re only geared up to move a couch, you might not need all the bells and whistles of a souped-up RV. But if you’re planning the ultimate cross-country trek into online entrepreneurship, you’re gonna want those extras. It’s about knowing exactly what you need for the trip you’re planning to take.

Consider this section your navigation guide: before you crank the engine, pause and picture the destination. Whether it’s just a quick haul or a long journey, getting the right vehicle matters. So let’s get our bearings, and find the best route for your online mission.

Foundations: Understanding Their Core Offerings

Navigating the world of web hosting can feel like wandering through endless aisles at a superstore with a shopping list that’s been scribbled in a foreign language. You need a translator—a guide to lead you to the right aisle. That’s where understanding what GoDaddy and Wealthy Affiliate fundamentally offer comes into play.

GoDaddy has been around the block, and at its core, it’s your go-to for traditional services—domain registration and web hosting. Think of it like the solid, old-school craftsman of the web world. It gives you a space to build something of your own, but you’ll have to bring your own tools, instructions, and motivation.

Then there’s Wealthy Affiliate, more like a Swiss army knife of the online marketing world. Not only do you get space, but you also get a guided experience—hosting that’s coupled with ample resources to help you craft a successful blog or website. It’s pure gold for those starting out with grand ideas but maybe not as much tech-savvy or business know-how. With training, community support, and keyword research, they don’t just give you the parts, they give you the blueprints too.

Choosing between these platforms isn’t just about picking a service; it’s about matching your needs with their strengths. If you’re self-reliant with the desire to custom-build, GoDaddy’s got your back. For those needing a bit more hand-holding to turn ideas into online income, Wealthy Affiliate could be the better fit. So, map out what you need and set the course that fits your journey best.

Performance Indicators: Pricing & Hidden Fees

Money matters, right? Before you splash that cash on web hosting, you’ve gotta know what you’re in for. That’s where the price tag comes into sharp focus—what you see isn’t always what you get, and both GoDaddy and Wealthy Affiliate have their own take here.

GoDaddy is like that big flashing SALE sign—you know, the one that lures you in with deals like $4.99 a month. But hold your horses. It’s not quite a complete package. Sure, the initial cost sounds inviting, yet that low price tag is often a teaser. As you roll on, be ready for speed bumps like unexpected upsells and renewal surprises. They’ll hit you with extras for stuff like SSL certificates, which is essentially your website’s security badge. What seemed cheap can snowball into a hefty sum pretty fast.

In contrast, Wealthy Affiliate has a ‘what-you-see-is-what-you-get’ vibe. Their $49 monthly fee might seem steep if all you need is hosting, but remember, you’re not just buying space. The price wraps in a whole toolkit—SEO lessons, forums, keyword wizardry, and more. There’s no duck-and-cover when it comes to surprise costs, making it a predictable path for those needing coaching and support.

So, the big question: What’s your budget comfort zone? If you’re starting out and need some serious bang for your buck with guidance on top, Wealthy Affiliate might just be the smoother ride despite the price. For penny-pinchers who know the drill and want just the basics, tread carefully with GoDaddy’s price tags and keep an eye out for those hidden costs riding shotgun.

Tech Specs: Performance & Speed

Speed wins races, and when it comes to websites, it keeps visitors happy. GoDaddy and Wealthy Affiliate bring different engines to this performance game. Understanding their capabilities can be a major game-changer for your website’s success.

Let’s start with GoDaddy. It uses standard shared hosting servers. Imagine your website as one of many boats floating on a shared server sea. If another boat gets flooded with traffic—say a sudden viral post—your site could slow down, or worse, sink temporarily. It’s like sharing a one-way street with a convoy of trucks; any traffic spike brings everything to a crawl.

Wealthy Affiliate offers a different approach with fast managed WordPress servers. This is like cruising the highway in a sleek sports car, thanks to their ‘double-hosting’ mirror system. If one server hits a snag, a backup kicks in seamlessly. It’s secure and speedy, minimizing downtime. You want consistency in speed and performance? This setup keeps your site sailing smoothly, even if the digital waters get choppy.

So, think about this: Is your site a speedboat needing smooth sails and minimal disruptions? Or a steady steamer okay with occasional headwinds? GoDaddy offers a reliable ride if the waters stay calm. Wealthy Affiliate might serve better if you crave consistent speed and backup plans to keep downtime at bay. Balancing the thrills and chills of hosting is all about knowing how much boost your website really needs.

Utility: Purpose-Built Tools and Features

Jumping into web hosting means more than just a spot to park your site. Tools and features can make or break your online adventure. This is where GoDaddy and Wealthy Affiliate differ significantly.

GoDaddy hands you the keys to a solid basic hosting space. It’s like getting a garage without the tools. You need to find, install, and often pay for your own extras—SEO tools, keyword research, and security plugins are on you. If you’re tech-savvy, this freedom can be empowering but also requires a little elbow grease to get things running right.

Wealthy Affiliate, on the other hand, is more like a workshop fully stocked with everything ready for you. It bundles a bunch of tools that are incredibly handy for bloggers and affiliate marketers. Think of Jaaxy, which is a keyword research champ, or their content writing platform with a library of free images. Plus, they offer hundreds of step-by-step training lessons, guiding you as you go.

So, what’s your plan? If you’re a self-starter who loves curating your own toolkit and diving into techy stuff, GoDaddy gives you the flexibility to build your own dream setup. If you prefer a guided, one-stop solution where most of the legwork is already done, Wealthy Affiliate’s package might be your hassle-free choice.

The Bottom Line: Guidance for Choosing the Right Fit

Every online journey has its own map, and choosing between GoDaddy and Wealthy Affiliate depends on the destinations you’re aiming to reach. They’re both solid choices but are tailored to different paths—a classic case of picking the right tool for the job.

GoDaddy suits those who are already clued in on how to handle their online endeavors without much hand-holding. If you’re a veteran of the website game, happy to seek out your own SEO tools and just need a simple, cost-effective spot to park a business site, it might be the place for you. But, make sure to weigh it against other pure hosts like Hostinger or DreamHost, as they might offer competitive perks that suit your needs better.

For the ones just starting, or those who see value in having all resources under one roof, Wealthy Affiliate can be a game changer. It’s like getting a mentor alongside your hosting, perfect for beginners eager to turn blogging into a profitable venture. With its community support and bundled tools, it’s your ultimate guide in the expansive world of affiliate marketing.

When the rubber hits the road, think about your budget for hosting and tools—are you building a lone website, or are multiple blogs on the horizon? Your goals will help map out the most economical and efficient course of action. Pair your objectives with the strengths of either platform, and you’re bound to find a hosting solution that leads to success.

Virtual Writing Retreat

A quiet digital workspace with a laptop, coffee mug, and notepad on a wooden desk, peaceful virtual retreat atmosphere

If you’re longing for dedicated writing time but can’t escape to a cozy cabin in the woods, virtual writing retreats are a pretty handy option. These online experiences promise focused writing time, expert advice, and a supportive community—all without packing a suitcase or leaving your favorite coffee mug at home.

I’ve tried a few virtual writing retreats myself, and I’m excited to walk you through what makes them so popular, how they work, and how to figure out if one might fit your creative needs.

What is a Virtual Writing Retreat?

A virtual writing retreat is basically an organized event, often hosted over Zoom or another video platform, where writers from anywhere in the world gather online for inspiration and uninterrupted writing time. These retreats come in all shapes and sizes: from single-day sprints to weeklong immersive experiences. They’re led by experienced leaders—sometimes bestselling authors, other times creative writing coaches—who guide participants through workshops, networking, and, most importantly, focused time to get words on the page.

Some retreats offer additional perks, like digital handouts, writing prompts, or follow-up sessions to help you keep your momentum going after the event wraps up. Access is often easy, and the inviting virtual format encourages both shy introverts and chatty extroverts to find their stride.

Who Are Virtual Writing Retreats For?

  • Writers craving accountability and structure
  • People juggling jobs, family, or other commitments that make travel tricky
  • Anyone who wants to connect with other writers, without the expense or hassle of travel
  • Writers at any stage, from total beginners to seasoned pros

I’ve noticed these retreats work especially well for folks who have big writing goals (like finishing a novel draft) but struggle to carve out uninterrupted time on their own. Virtual retreats are also helpful for those seeking fresh inspiration or wishing for a friendly boost from a like-minded group.

Virtual Writing Retreat Pros and Cons

Pros:

  • No travel costs; join from the comfort of home
  • Flexible scheduling, with many retreats offering fullday, halfday, or evening formats
  • Structured writing blocks keep you accountable
  • Access to experienced instructors and a variety of genres
  • Community support from other writers (even if you’re an introvert, you can control how much you socialize)

Cons:

  • Distractions at home can be tough to avoid
  • Time zones can make live sessions tricky for some attendees
  • Less of an “escape” feeling compared to an inperson writing getaway
  • Requires reliable internet and basic tech skills

Popular Types of Virtual Writing Retreats

  • Genrefocused Retreats: Some events focus on poetry, memoir, fiction, or even technical writing.
  • Here is a new Retreat writing for ages 10-13 Free Sign-up!
  • General Retreats: Open to all genres, perfect if you just need space and accountability.
  • Daily Sprints or WriteIns: Single or multiday events with a focus only on putting words down, sometimes called “Shut Up & Write” sessions.
  • Masterclasses and Workshops: Combine writing sprints with craft talks on topics like character development, plotting, or selfediting.
  • Retreats with Manuscript Review: Include oneonone feedback or group critique from instructors.

Whether you want an intensive writing marathon or something more relaxed, there’s probably a retreat format that works for you. Some retreats are tailored for teachers or those in academia, while others are meant for people writing fiction, screenplays, or blogs. The choices mean you’ll likely track down a session that sparks your interest and meets your needs.

Key Features to Look For

  1. Structured Writing Blocks
    Sessions with focused writing time, often using Pomodoro or sprint techniques, are super important. This keeps everyone on track and helps you make real progress.
  2. Workshop Sessions
    Options for workshops or craft classes are great for writers wanting to learn new skills or tackle specific writing problems.
  3. Community & Networking
    Look for retreats that provide breakout rooms or chat areas where you can mingle with other writers, share progress, or just commiserate about tricky plots and writer’s block. This is one of the things I find most valuable for motivation.
  4. Flexible Scheduling
    Many retreats understand writers have different schedules. Some offer recordings or different time blocks to make access easier.
  5. Expert Guidance
    Having experienced leaders or guest speakers really makes a difference. Retreats often feature Q&A sessions or open office hours for personal advice.

Comparing Virtual Vs. InPerson Writing Retreats

  • Cost: Online retreats are often much more affordable, since you aren’t paying for room, board, or travel. A virtual spot might run $30 to $300, while inperson retreats can easily reach $1,000 or more.
  • Atmosphere: There’s something special about changing locations and immersing yourself fully, but virtual retreats do a pretty good job of recreating that sense of community and focus. Some events even encourage you to bring your own snacks or set up a cozy ambiance to match the retreat vibe.
  • Convenience: Attending a virtual retreat means you can keep up with family, work, or pets while still making progress on your writing. There’s no stressful travel or jet lag.
  • Networking: Inperson offers more organic networking, but most virtual retreats have built-in social elements like breakout rooms or group chats, so you still get those connections.

Tips for Making the Most of Your Virtual Retreat

  • Set up your workspace ahead of time to limit distractions
  • Communicate with housemates or family to protect your retreat time
  • Take breaks and stretch during longer writing blocks
  • Show up for community events and discussions, even if you feel shy
  • Bring snacks, water, and whatever makes you comfy, since this is your retreat

I also like keeping a retreat journal nearby, jotting down insights, new ideas, and things I want to tackle on future writing days. Writing down your creative breakthroughs or workshop takeaways helps make them stick.

User Experiences & Recommendations

  • Writers say virtual retreats help them finally finish that stubborn draft or revise a tricky chapter.
  • Many appreciate how easy it is to join and how welcoming the communities can be.
  • Some users mention the need to be proactive about planning for home distractions.
  • Participants say they leave feeling motivated, connected, and with a real sense of accomplishment.

Keep in mind not every retreat is the right fit for every writer. Check reviews on places like Writing Workshops or The Writer’s Retreat to find one that matches your needs and vibe. Careful research helps you find a good experience, and some websites even let you see who’s teaching or attend sample sessions first.

If you want to join a writing retreat but feel unsure, you might try a halfday or a single-evening session first to test the waters. These shorter events offer a taste of the structure and the community without a big commitment.

Should You Try a Virtual Writing Retreat?

If you’re stuck in a writing rut or need a friendly push to hit your goals, a virtual writing retreat is worth checking out. Writers at all levels have found these online gatherings give them the motivation and focus that’s hard to find solo. With lots of options—weekends, single days, genre specific, and more—you’ll probably find something that sparks your creativity and fits your schedule.

I’ve gotten a ton out of the virtual retreats I’ve tried, and I still use some of the daily routines and techniques I picked up during those events. If you want support, structure, and the energy of a likeminded community, a virtual writing retreat is a pretty cool place to start. Try one, and you just might hit that word count goal faster than you thought!

Write Retreat

An Introduction Of A Legal Nurse Consultant

LNC Spotlight: Bridging the Gap Between Complex Clinical Care and Legal Strategy

Michael Emery, RN, LNCIntroduction to the Legal Nurse Consultant (LNC) field and its growing importance in legal cases involving medical care.

  • Introducing our featured professional: A seasoned Registered Nurse with over two decades of high-acuity clinical experience now gaining recognition in the Legal Nurse Consulting world.
  • Detailed overview of an extensive background in EMS, Emergency Care, Cardiac Cath Lab, and Interventional Radiology.
  • A journey from hands-on bedside care to the analytical realm of healthcare, identifying critical medical timelines and simplifying complex medical information for legal purposes.
  • Highlights on areas of expertise: Loves tackling emergency medicine and cardiac care cases, where precise documentation and timelines are crucial.
  • Commitment to continuously honing skills through specialized training, mentorship, and active participation in LNC networking groups.
  • Invitation to collaborate: Offering services as a subcontractor or expert consultant for crafting robust medical-legal case strategies.
  • Contact information provided for professional connection and collaboration opportunities. Michael Emery, RN, LNC

Welcome toWriteRetreat!

Welcome to this website! This is a hub for writers in the medlaw field. Editing and creating is a collaborative effort that can build a bridge to a future career or delete it. If you are wanting a partnership to cheer you on I’m this endeavor, then start writing!

The guest blog approach is adopted to help new members get into this business smoothly. There are not a lot of resources put out on the internet or anywhere else to help new and seasoned writers along the course of their career.

In the healthcare and medical field, there are so many venues that it can be confusing about where to go for plain and true information. Artificial Intelligence has helped people so vastly, that we can over depend on what takes actual human ingenuity to construct.

Welcome to Writer Retreat, a new website built and enhanced with Wealthy Affiliate, the university that trained the maker how to generate a blog from the ground up.